Crispy Chickpea Pitas with Lemon Yogurt Sauce
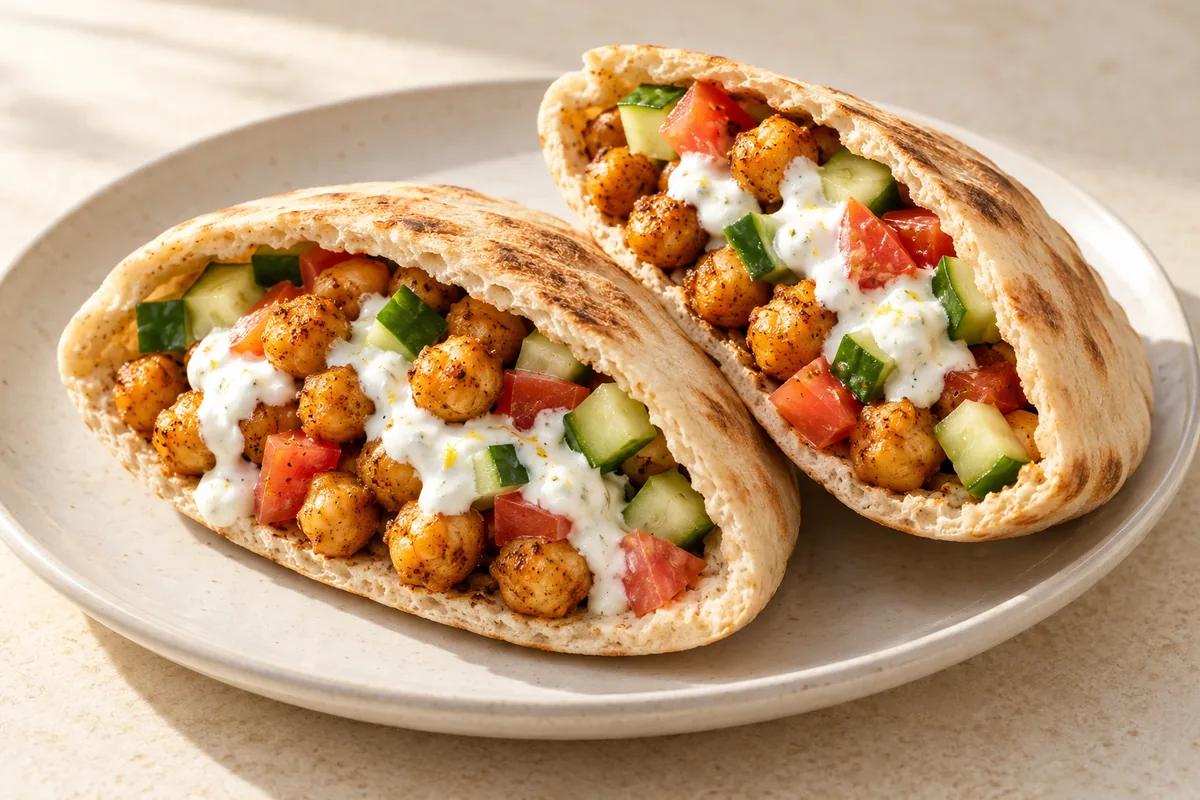
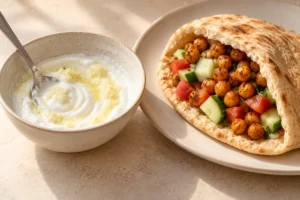
Crispy chickpea pitas combine warm roasted chickpeas, cool cucumber and tomato, and a lemon yogurt sauce in soft bread. The contrast matters more than a long ingredient list: keep the chickpeas dry before roasting, the salad well drained and the sauce thick enough to stay in the pita.
This is a vegetable-filled lunch or dinner rather than a crunchy fried sandwich. Roasted chickpeas become lightly crisp outside and remain tender inside; they soften once mixed with yogurt. Assemble just before eating instead of expecting a filled pita to stay crisp for hours.
Ingredients and useful choices
Use 480 g drained cooked chickpeas for four pitas. Canned chickpeas are convenient, but their canning liquid needs to be rinsed away and the beans thoroughly dried. These instructions are not suitable for uncooked dried chickpeas.
The roasting mixture is 1 tablespoon olive oil, 1 teaspoon smoked paprika, 1/2 teaspoon ground cumin, 1/4 teaspoon salt and 1/4 teaspoon black pepper. Check the chickpeas after about 25 minutes: oven strength and surface moisture affect browning more than the label on the can.
For the filling, dice 150 g cucumber and 200 g tomato into small pieces. Drain any accumulated juice. Four medium pitas hold a useful amount without becoming difficult to handle. If your bread is small, serve some chickpeas and vegetables alongside rather than forcing everything inside.
The sauce uses 150 g plain yogurt, 1 tablespoon lemon juice and one small finely grated garlic clove. Thick yogurt gives the most manageable filling. Ordinary plain yogurt is also workable; stir rather than adding water, and use a little less sauce if it is runny.
Four stages for a better pita
1. Dry the chickpeas thoroughly
Heat the oven to 220°C (425°F). Spread rinsed chickpeas on a clean towel and pat them dry. Loose skins can be removed if they come away easily, but there is no need to peel every chickpea. Drying is the important step: surface water delays browning.
2. Roast in a single layer
Toss the beans with oil and the measured seasonings. Spread on a rimmed baking tray with space around them. Roast for about 25–30 minutes, shaking or stirring halfway. Look for lightly browned surfaces rather than expecting every chickpea to become uniformly dark. A few may pop, so use care when opening the oven.
3. Prepare the cool components
While the chickpeas roast, dice the cucumber and tomato. Let their juices collect separately and drain them before filling. Warm the pitas briefly according to their packaging so they open without splitting. Do not toast them until brittle if you want a pocket sandwich.
4. Mix the sauce and assemble
Stir yogurt, lemon juice and garlic until smooth. Divide vegetables and chickpeas between the pitas and spoon in the sauce. Avoid drowning the beans: extra sauce can be served on the side. Eat promptly while the bread is warm and the vegetables are cool.
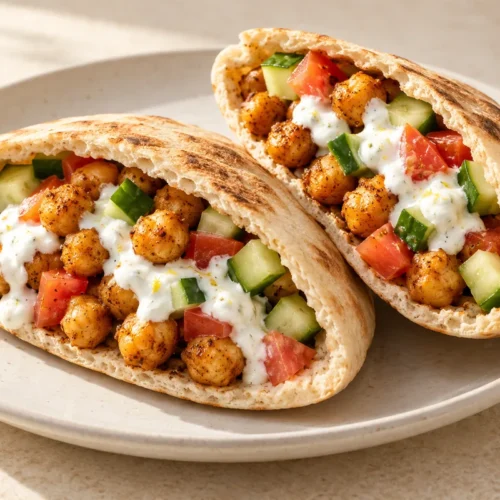
Crispy Chickpea Pitas with Lemon Yogurt Sauce
Equipment
- 1 Rimmed roasting tray, clean towel and mixing bowl
Ingredients
- 480 g cooked chickpeas rinsed and thoroughly dried
- 1 tablespoon olive oil
- 1 teaspoon smoked paprika
- 1/2 teaspoon ground cumin
- 1/4 teaspoon fine salt
- 1/4 teaspoon black pepper
- 150 g cucumber small dice
- 200 g tomato small dice, excess juice drained
- 4 medium pitas
- 150 g plain yogurt preferably thick
- 1 tablespoon lemon juice
- 1 small garlic clove finely grated
Instructions
- Heat the oven to 220°C (425°F). Rinse the cooked chickpeas and pat thoroughly dry on a clean towel. Measure oil and seasonings and set out a rimmed baking tray.
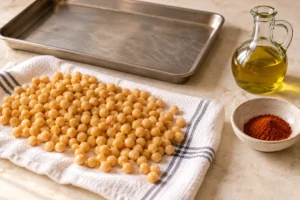
- Toss chickpeas with oil, smoked paprika, cumin, salt and pepper. Spread in a single layer with space between the beans. Roast for about 25–30 minutes, stirring halfway, until lightly browned and crisp outside but tender within.
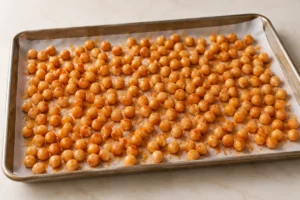
- While chickpeas roast, dice cucumber and tomato and drain excess juices. Warm the pitas briefly according to their package so they open without splitting. Keep the components separate until serving.
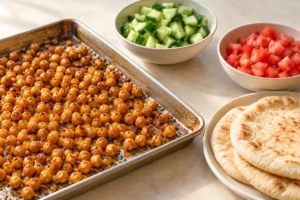
- Stir yogurt, lemon juice and garlic until smooth. Divide chickpeas and vegetables between warm pitas and spoon in the sauce. Serve promptly, with extra sauce on the side rather than soaking the bread.
Notes
Texture troubleshooting
If chickpeas stay soft, first consider moisture and crowding. They may need a few more minutes, but extending cooking indefinitely can dry out the centers. Aim for a roasted surface and a pleasant tender interior. A tray full of overlapping beans behaves more like a steamer than a roasting surface.
If the pocket tears, the bread may be cold or overloaded. Warm it gently and open it carefully. Serving the same components as an open pita plate is a useful fallback, not a failed recipe. If the filling leaks, drain the tomato again and reduce the amount of sauce inside.
Swaps and allergens
Pita commonly contains wheat and yogurt contains milk. Check all labels, including seasoning blends. A thick unsweetened dairy-free yogurt can replace the dairy version, but coconut or oat products change the flavor. This recipe does not contain tahini; there is no need to add sesame to make the sauce.
Sweet paprika can replace smoked paprika for a milder flavor. Keep the seasoning amounts balanced instead of adding a large quantity of spice to compensate. Cucumber and tomato can be served separately for anyone who prefers a warm-only filling.
What to serve alongside
A bowl of cucumber and tomato salad makes a refreshing side. For a warm chickpea meal without bread, try coconut chickpea and spinach curry. Baked feta chickpeas use a different oven method with juicy tomatoes rather than a dry roasting tray.
Make-ahead and storage
Store chickpeas, chopped vegetables and yogurt sauce separately. Refrigerate perishable components promptly in covered containers at 40°F (4°C) or below. Use cooked leftovers within 3–4 days, while judging the vegetables and yogurt by their own freshness and package instructions.
Reheat cooked chickpeas thoroughly to 165°F (74°C), then let excess steam escape before assembly. They will not be as crisp as freshly roasted beans. Do not leave yogurt-filled pitas sitting at room temperature for long periods. The USDA leftovers guidance explains prompt chilling and safe reheating.
Common questions
Can I roast wet chickpeas?
You can cook them, but their surface browning will be slower and less pronounced. Patting them dry is worthwhile for this recipe.
Can I fill the pitas the night before?
It is better to refrigerate the components separately and assemble when eating. Wet vegetables and yogurt soften the bread overnight.
Is the sauce meant to be thin?
No. It should be spoonable so it stays with the filling. Use thick yogurt and avoid extra water.
Can I make this without a pita pocket?
Yes. Serve the chickpeas and vegetables over warm bread with sauce on the side. The ingredient amounts remain the same.
Images are generated illustrations of the ingredients and method. They are not photographs from a personal kitchen test, and no such test is claimed.