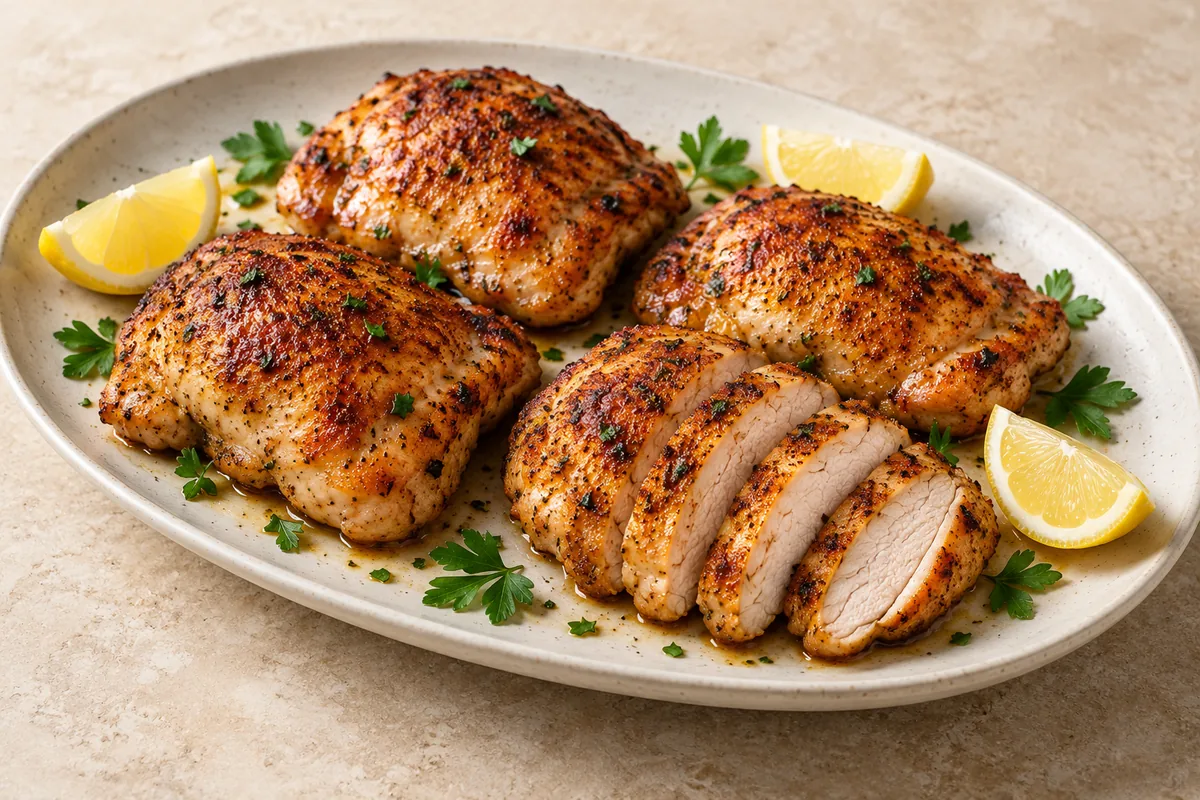
Air Fryer Boneless Chicken Thighs with Lemon Garlic
These air fryer boneless chicken thighs use a simple lemon, garlic and paprika seasoning rather than a long marinade. The method is designed for thawed, boneless, skinless thighs opened out flat, with lightly browned edges and a tender center. Add the lemon juice after cooking so the seasoning stays on the surface instead of becoming a watery coating.
Plan about 10 minutes to prepare the chicken, around 18 minutes to cook and 5 minutes to rest. The actual cooking time depends on the thickness of the thighs and the air fryer. A thermometer, not the timer or the color of the meat, decides when they are ready.
Ingredients that matter
Use 650 g, about 1 1/2 pounds, of boneless skinless chicken thighs for four servings. Four large thighs or five to six smaller ones can reach that weight; do not rely on piece count alone. Unfold each thigh before seasoning, and trim only loose pieces of excess fat. This recipe is not written for bone-in thighs or chicken still frozen in a solid block.
Olive oil helps distribute the paprika, garlic powder and dried oregano. Lemon zest supplies citrus aroma before cooking, while a tablespoon of lemon juice finishes the cooked chicken. Garlic powder is useful here because little pieces of fresh garlic can darken quickly in a hot basket. Parsley is optional for serving and is not needed for the seasoning to work.
How to make air fryer boneless chicken thighs
1. Dry and season the unfolded thighs
Preheat the air fryer to 400°F, about 200°C, if your model calls for preheating. Blot the thawed chicken dry with paper towels; do not wash raw chicken. Mix the oil, paprika, garlic powder, oregano, lemon zest, salt and pepper in a bowl, then turn the thighs through the mixture. Coat both surfaces and the folds without leaving a pool of liquid.
2. Leave room in the basket
Lay the thighs in one layer, opened out rather than rolled into thick bundles. Small spaces between the pieces let the moving hot air reach the surfaces. If the chicken overlaps, divide it into batches instead of stacking it. An additional batch extends the total elapsed time; the card estimate assumes the chicken fits in one layer.
3. Cook and check the thickest centers
Air fry for 8 minutes, turn with tongs and continue for roughly 6 to 10 minutes. Begin checking sooner for small thin thighs. Insert a clean instant-read probe into the thickest center of more than one piece. All chicken must reach at least 165°F, or 74°C, before it comes out. This follows USDA poultry guidance.
4. Rest, then add the fresh lemon
Move the cooked thighs to a clean plate, rest for 5 minutes and drizzle with the measured lemon juice. Slice against the direction of the muscle fibers or serve whole. Do not put the cooked chicken back into the bowl or onto the plate that held it raw. Wash the raw-chicken utensils and thermometer probe before reuse.
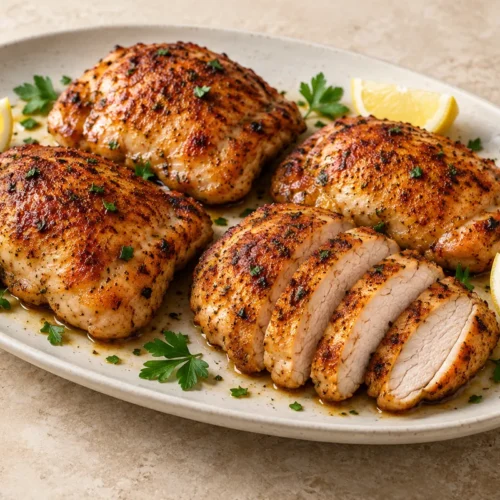
Air Fryer Boneless Chicken Thighs with Lemon Garlic
Equipment
- 1 Air fryer, mixing bowl, tongs and instant-read food thermometer
Ingredients
- 650 g boneless skinless chicken thighs about 1 1/2 lb, thawed and opened out flat
- 1 tablespoon olive oil
- 1 teaspoon sweet paprika
- 1 teaspoon garlic powder
- 1/2 teaspoon dried oregano
- 1 teaspoon finely grated lemon zest from a washed lemon
- 1/2 teaspoon fine salt
- 1/4 teaspoon black pepper
- 1 tablespoon fresh lemon juice added after cooking
- 1 tablespoon chopped parsley optional, for serving
Instructions
- Preheat the air fryer to 400°F (200°C) if your manufacturer recommends it. Pat thawed thighs dry and open them flat; do not wash raw chicken. Mix oil, paprika, garlic powder, oregano, lemon zest, salt and pepper in a bowl, then coat the chicken on both surfaces.
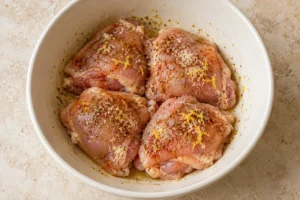
- Arrange the seasoned thighs in one layer with small gaps, unfolded rather than rolled. Do not overlap. Cook in batches if needed; additional batches extend elapsed time beyond the single-batch estimate.
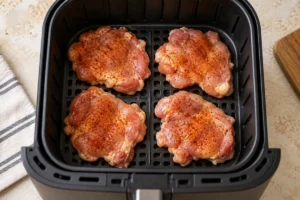
- Air fry for 8 minutes, turn with tongs and continue for about 6 to 10 minutes, checking early for thin pieces. Check the thickest centers of several thighs with a clean thermometer. All chicken must reach at least 165°F (74°C) before removal; cooking time varies by size and appliance.
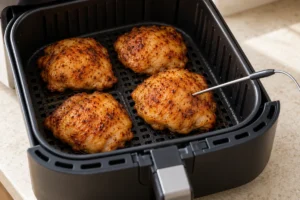
- Transfer to a clean plate and rest for 5 minutes. Add the fresh lemon juice and optional parsley. Serve whole or slice. Keep cooked chicken separate from the bowl, plate and utensils used for raw chicken.
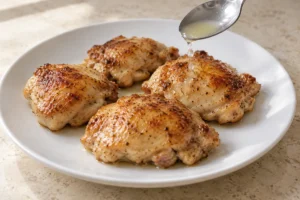
Notes
Timing, texture and common problems
How long do boneless chicken thighs take at 400°F? Start with the range above, but expect variation. A thigh folded into a thick mound takes longer than a similar-weight thigh opened out flat. Basket size, starting temperature and the appliance also matter. Check early and continue in short intervals when the thermometer is below the safe temperature.
If the seasoning is turning dark before the middle is cooked, lower the air fryer to 375°F, about 190°C, and continue checking. If the meat looks pale, first check whether the pieces are crowded or wet. Extra time cannot reliably correct crowding without drying the smaller pieces. These are skinless thighs: expect browned edges, not the crisp skin of a bone-in roast.
What to serve with them
Pair the chicken with oven potato wedges and a bright cucumber tomato salad. For a meat-free dinner on another night, try crispy chickpea pitas. These links lead to different complete recipes; their ingredients and cooking times are not included in this card.
Storage and reheating
Refrigerate promptly in a covered shallow container at 40°F, or 4°C, or colder and use within 3 to 4 days. Reheat to 165°F, or 74°C. Do not leave perishable leftovers out longer than 2 hours, or 1 hour above 90°F. See USDA leftover handling.
Frequently asked questions
Can I use chicken breast instead?
Breast is leaner and its shape is different, so the thigh timing should not be copied unchanged. Use evenly thick pieces, check early and follow the same safe poultry temperature. A dedicated breast recipe is a better starting point than treating cuts as interchangeable.
Is a long marinade necessary?
No. This version uses a surface seasoning and fresh lemon after cooking. Avoid adding a large amount of juice to the bowl unless you are deliberately changing the method; a wet coating makes the lightly browned surface harder to achieve.
Recipe timings are estimates, not a claim of physical kitchen testing. Check ingredient labels for allergens; this recipe contains no pork or pork-derived ingredients.