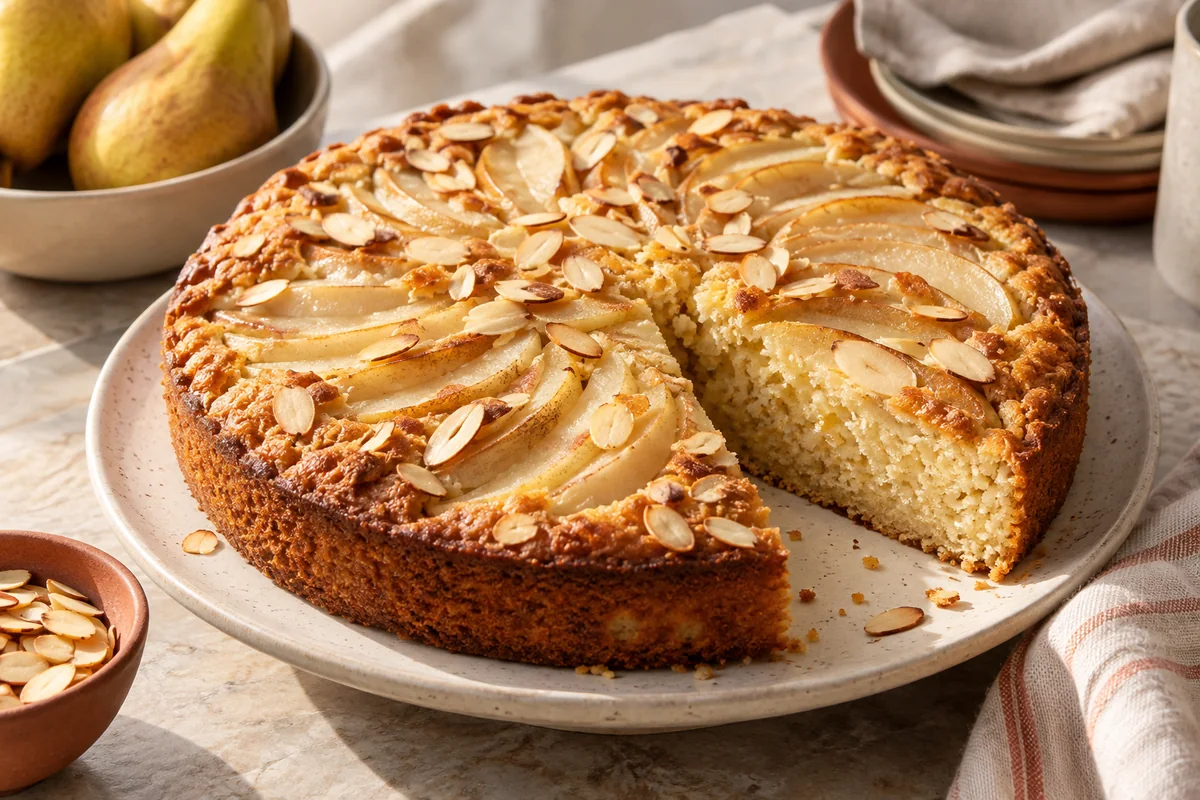
Pear Almond Cake with Fresh Pears
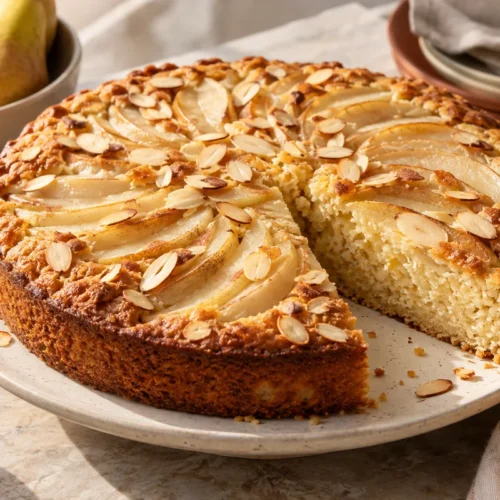
Pear almond cake combines sliced fresh pears with a butter-based batter containing both almond flour and all-purpose flour. The fruit stays on top, giving visible slices without the watery pockets that can come from packing a batter with too much chopped pear.
Ingredients for pear almond cake
Choose pears that yield slightly near the stem but still hold their shape when sliced. Very ripe juicy pears can wet the center, while hard unripe pears may stay firm after the cake bakes. Fine blanched almond flour blends more smoothly than coarse almond meal. This version includes wheat flour and is not gluten-free. Yogurt adds a small amount of moisture; do not pour in milk as an unmeasured substitute. Sliced almonds are a topping, not a replacement for the almond flour in the batter.
The complete measured ingredient list is in the printable recipe card below. Measure before starting, and keep ingredients that are reserved for finishing separate from those used during cooking.
How to make pear almond cake with fresh pears
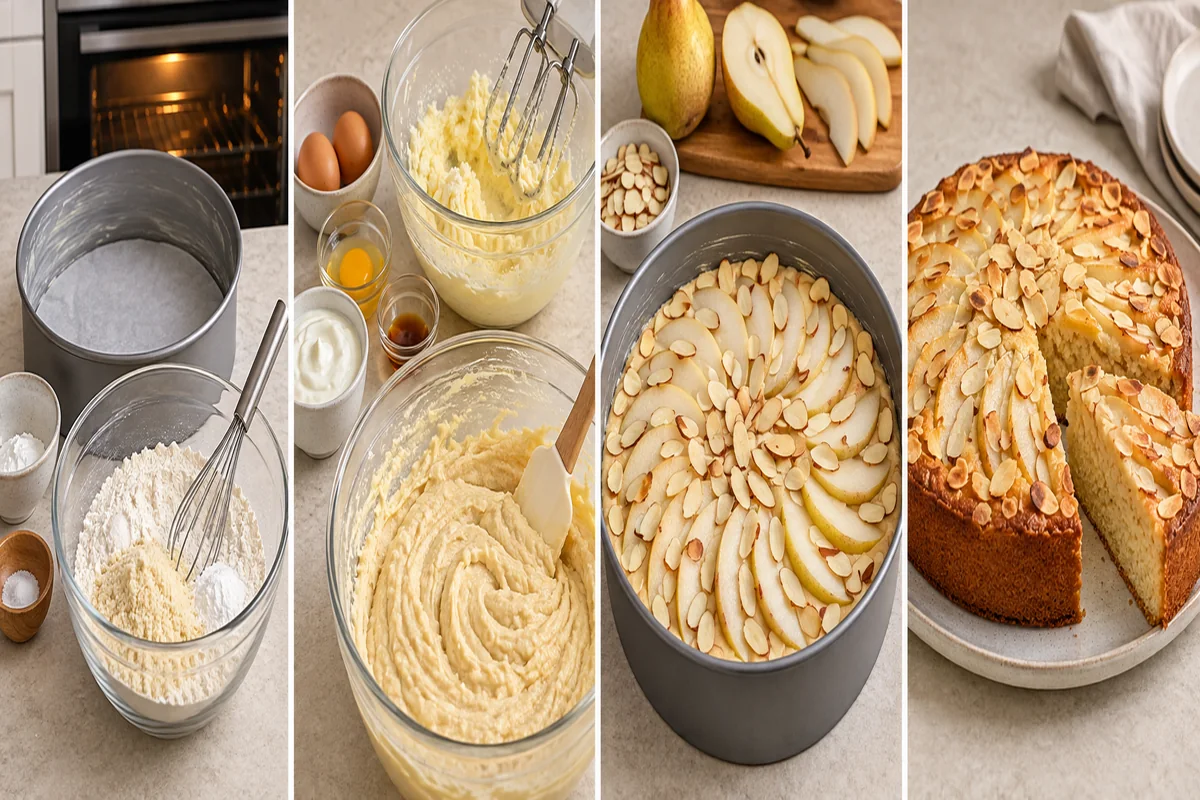
Step 1
Heat oven to 350°F (175°C). Grease a 9-inch round pan and line the bottom with parchment. Whisk all-purpose flour, almond flour, baking powder and salt.
Step 2
Beat butter and sugar until lighter and creamy, about 2–3 minutes. Beat in eggs one at a time, then yogurt and vanilla. Fold in the dry ingredients until combined.
Step 3
Spread batter evenly in the pan. Arrange pear slices in a single overlapping layer without piling them into the center. Scatter sliced almonds over the surface.
Step 4
Bake 38–45 minutes until the center is set and a toothpick comes out without wet batter. Cool 20 minutes in the pan before carefully unmolding. Allow more cooling before very neat slices.
Practical tips and troubleshooting
Softened butter should indent under a finger without looking melted or oily. Room-temperature eggs combine more easily with the butter mixture. A thick pile of pear slices at the center shields the batter from heat, so spread the fruit across the top. Almond flour cakes remain tender and can break if moved while hot. Keep the cooling rest in the timeline and use parchment to help release the base.
Frequently asked questions
Can I make it gluten-free?
This measured formula uses all-purpose flour. A gluten-free flour blend would be a separate, untested variation rather than a guaranteed direct substitute.
Should I peel the pears?
You can keep thin tender skins if washed well. Peel thicker skins if you prefer a softer topping.
Can I use canned pears?
They hold more liquid and would need thorough draining. Fresh firm ripe pears are the intended ingredient.
Serving and related recipes
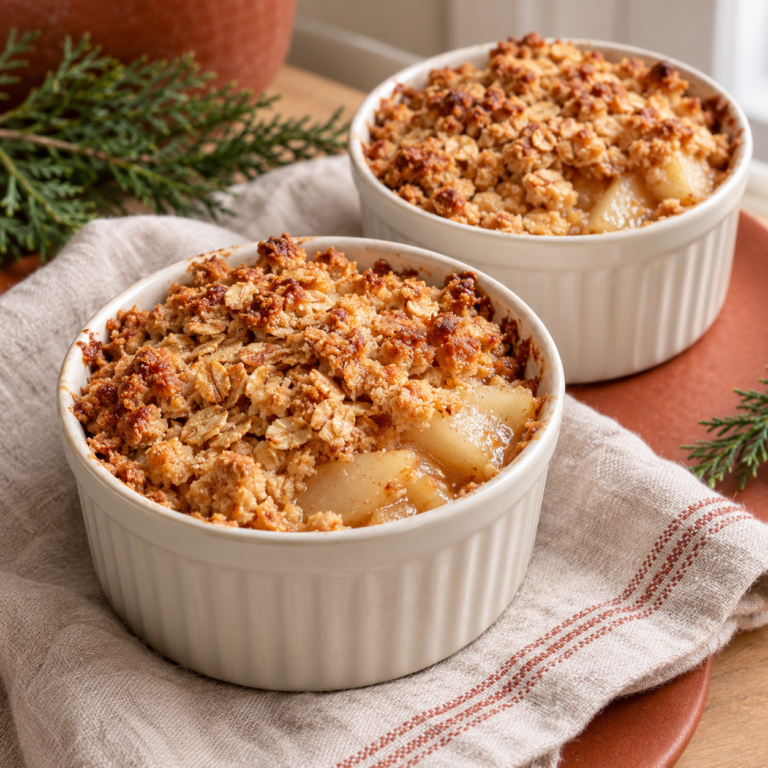
Try small batch pear crisp, lemon yogurt loaf cake, lemon butter shortbread squares. These links lead to different preparation methods or complementary dishes, rather than a second version of this recipe.
Printable recipe
Pear Almond Cake with Fresh Pears
Equipment
- 1 9-inch round cake pan, parchment and mixing bowls
Ingredients
- 3/4 cup all-purpose flour 90 g
- 1 cup fine blanched almond flour 100 g; not almond meal
- 1 1/2 tsp baking powder
- 1/4 tsp fine salt
- 1/2 cup unsalted butter 115 g; softened
- 1/2 cup granulated sugar 100 g
- 2 large eggs room temperature
- 1/4 cup plain yogurt 60 g
- 1 tsp vanilla extract
- 2 firm ripe pears about 350 g; cored and sliced
- 2 tbsp sliced almonds
Instructions
- Heat oven to 350°F (175°C). Grease a 9-inch round pan and line the bottom with parchment. Whisk all-purpose flour, almond flour, baking powder and salt.
- Beat butter and sugar until lighter and creamy, about 2–3 minutes. Beat in eggs one at a time, then yogurt and vanilla. Fold in the dry ingredients until combined.
- Spread batter evenly in the pan. Arrange pear slices in a single overlapping layer without piling them into the center. Scatter sliced almonds over the surface.
- Bake 38–45 minutes until the center is set and a toothpick comes out without wet batter. Cool 20 minutes in the pan before carefully unmolding. Allow more cooling before very neat slices.
Notes
About the illustrations
The finished-dish image and preparation guide are original AI-generated illustrations of the intended dish and stages, not photographs documenting a kitchen test. Follow the written quantities, temperatures and doneness cues; ingredients, appliances and pan dimensions can change the result.